Skip to content
Open menu
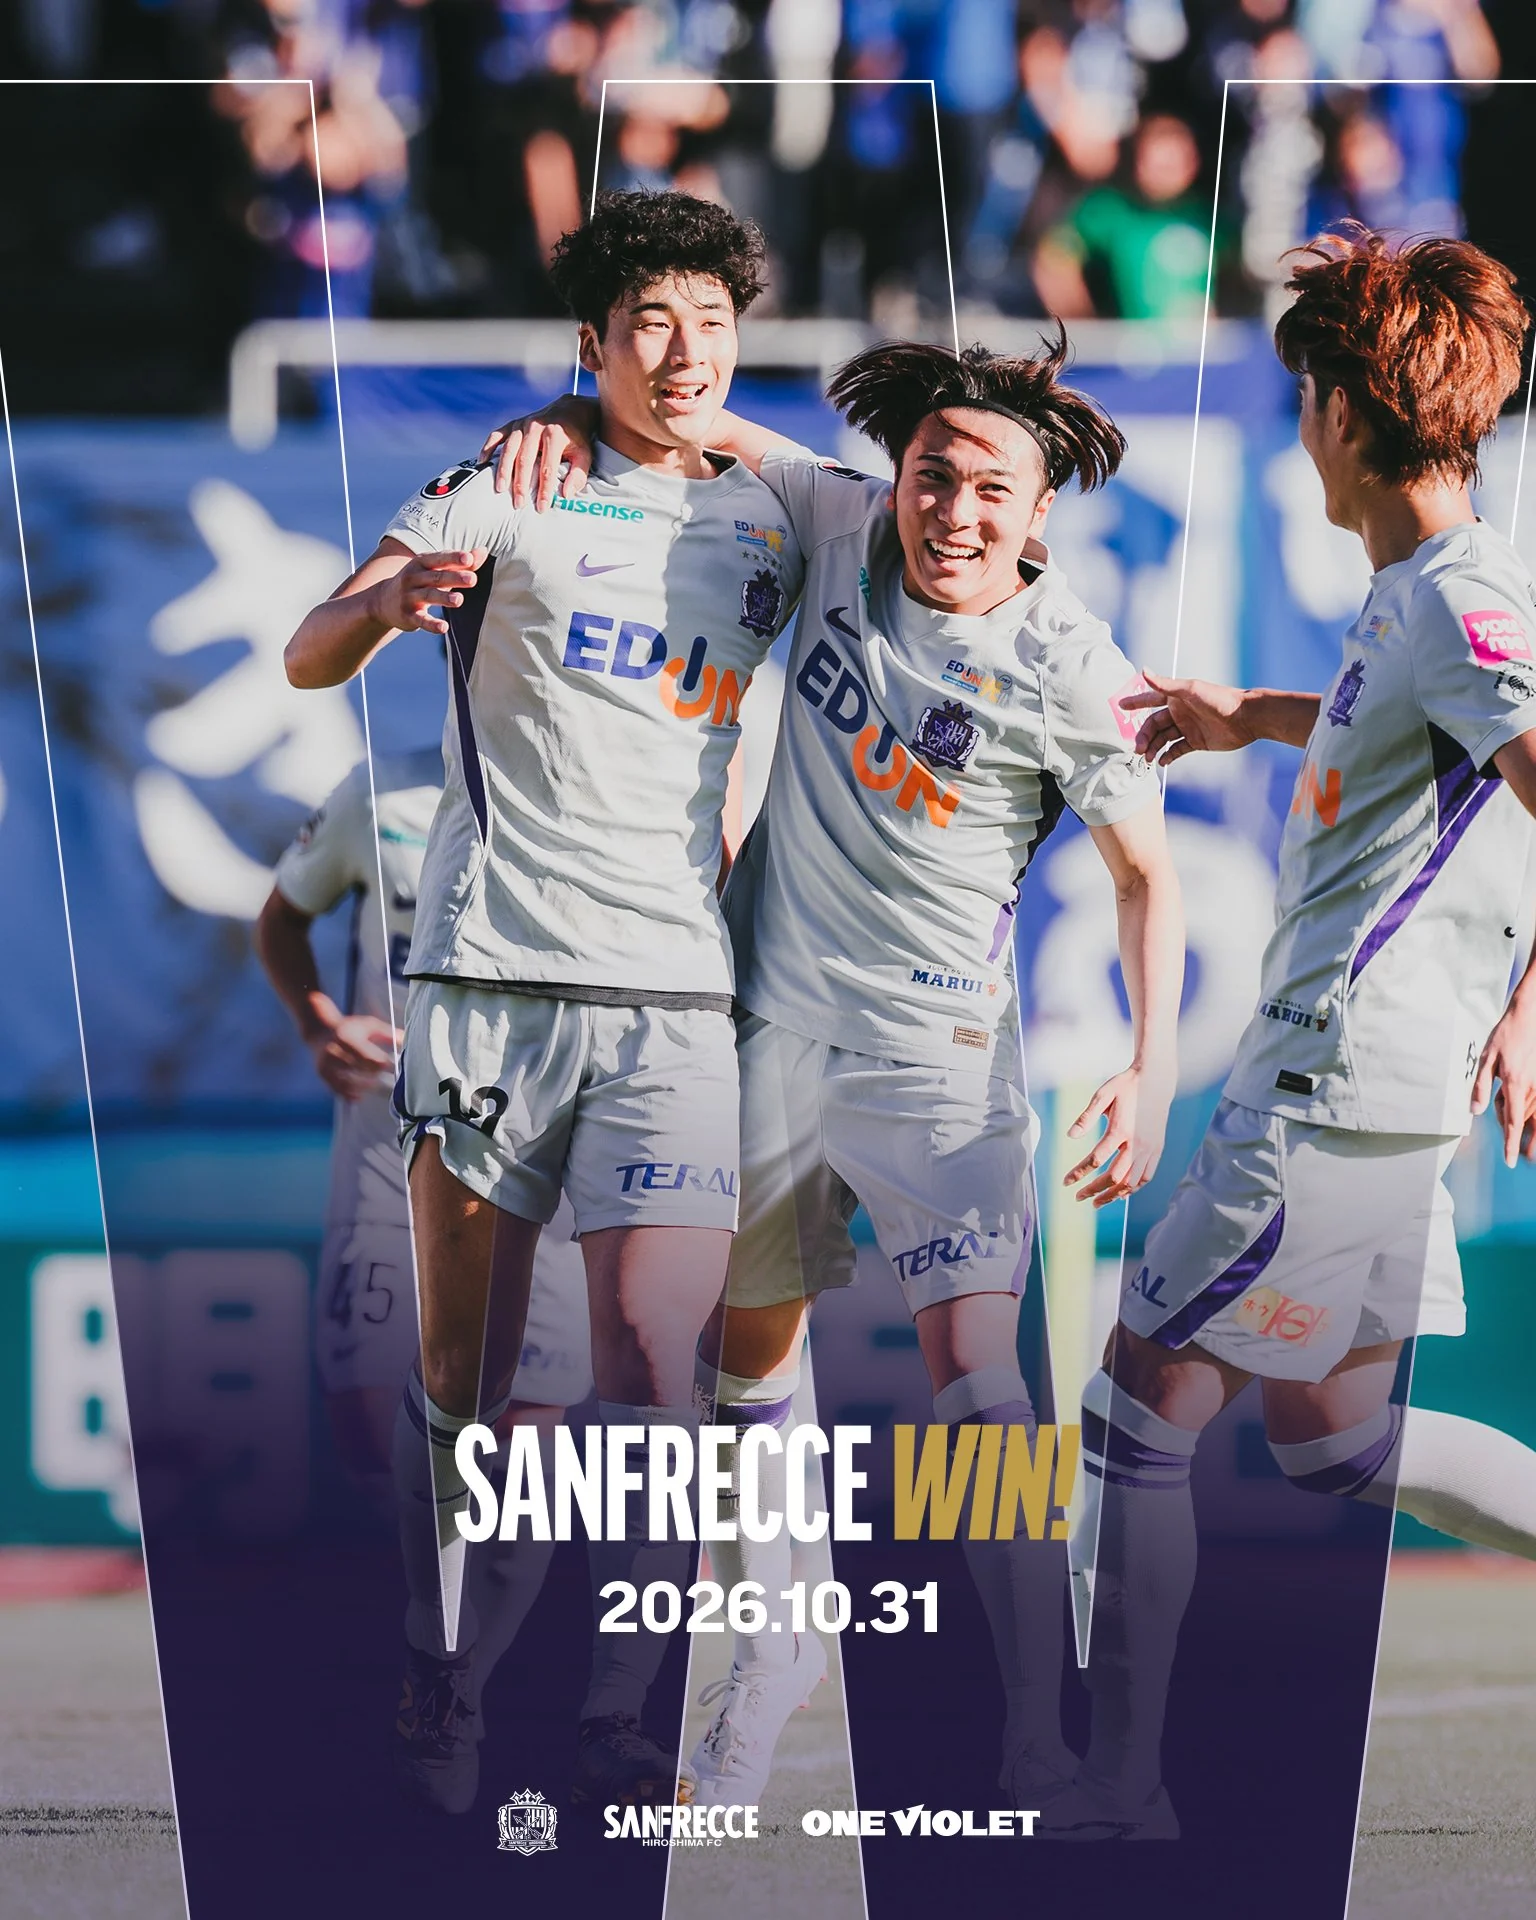
Hiroshima players celebrating the away win at Mito

MATCH INSIGHTS · J1 ROUND 13

Mito Hollyhock
0 – 3
Sanfrecce Hiroshima

Suzuki 30′ · Nakano 54′ · Suga 83′

Mito Shinkin Bank Stadium · 31 Oct

Hiroshima set up camp.
Mito couldnt get out.

An early red, wave after wave of Hiroshima pressure and Nakano joining in from the back. For me, the attacking access tells the story. Mito spent the afternoon trying to keep them out.

THE TURNING POINT

An early red. A long afternoon.

Mito's defensive reset barely got started.
THE PATTERN

Hiroshima kept coming.

Territory became repeated access to the box.

THE STANDOUT

Nakano, everywhere.

A defender playing a huge part in the attack.

01 / WHAT HAPPENED

Mito's plan came apart early.

  1. Kimoto off

    Mito forced into an early defensive change.

  2. Mase sent off

    Still goalless. Mito now have to survive with ten.
  3. Akito Suzuki
    Suzuki opens the scoring

    Nakano supplies the cross.

    0–1
  4. Nakano doubles the lead

    Arai returns the ball. Nakano keeps going.

    0–2
  5. Suga finishes it

    Yengi with the final pass.

    0–3

Kimoto off, then Mase sent off. Pretty grim for Naoki Mori's return. Mito were chasing the game before Hiroshima had even scored.

Gaul described Mito switching between 5-4-1 and 4-4-2. Hiroshima needed time to adjust, then kept looking behind the defence as Mito dropped deeper. The pressure stayed on.

SORARE / THE BIG SCORES

The Hiroshima AA scores are ridiculous.

Hiroshima's players celebrate at Mito
Lovely if you had them.
100

Shuto Nakano

54.46 AA

Goal, assist and huge involvement.

92.08

Kim Ju-sung

57.08 AA

A massive score without an attacking decisive.

The forward minutes

Kobayashi First halfYengi Second halfAsano 25 minutes

Sorare scores provisional at the Round 13 review. Full fantasy notes →

02 / TERRITORY

Keeping the ball was only half of it.

80%Hiroshima's attacking territory (field tilt)
iField tilt summarises which side had the greater share of play in attacking areas.

Passes into the box

1Mitov24Hiroshima
MitoHiroshima
29Possession
iPercentage of possession, using the official J.League match summary.
71
109Passes in the opposition half581
0.10Threat from ball progression (xT)
iExpected threat values moving the ball into more dangerous areas. Higher values mean more attacking threat from progression.
1.36

Hiroshima had the ball, advanced it and kept arriving in useful areas. Mito's problem was finding enough relief to get their attacking players involved.

03 / CHANCES

A clear winner. The chances were less one-sided.

Chance quality created (xG)
iExpected goals adds up the estimated scoring chance of each shot. Bigger chances carry more value.
Mito0.76vHiroshima1.62

Shots

Mito3
Hiroshima17
MitoHiroshima
0.25Average chance quality (xG per shot)
iTotal expected goals divided by shots. A larger number means the average attempt had a better scoring chance.
0.10

Where the chances came from

MitoHiroshima
0.76Open-play chance quality (xG)1.53
0.00Set-piece chance quality (xG)0.09

Open play did the work for Hiroshima. The return ball for Nakano's goal is the best example: release it, keep moving and attack the space that opens up.

Hiroshima's second goal: Nakano to Arai, then the return passNakano played to Arai, received the return in the right side of the penalty area and scored.1. Nakano2. Arai3. NakanoATTACKING TO THE RIGHT →NAKANO → ARAI → NAKANO
Give it, get it back, keep going. Lovely from Nakano.

04 / PRESSING

Hiroshima kept Mito pinned in.

MITO'S HALFPressure kept coming back
MitoHiroshima
63.7Passes allowed before a defensive action (PPDA)
iPPDA counts opposition passes per defensive action in the pressing zone. Fewer passes allowed generally means more active pressing.
10.1
2Ball recoveries high up the pitch7

The red card gave Hiroshima the upper hand. The useful part was how they used it: territory, repeat attacks and players still willing to run beyond the defence.

WHATS NEXT

Take the attacking involvement seriously.